Supplies
Pen, tailors chalk or texta
At least 1 – 2 yards (or meters) of fabric for the practice version
Paper and pen for notes
Ruler
Tape measure
Charcoal grey fabric, preferably about 60” (150 cm) wide
Note
You can click on all the images to see the full-size version.
Also, remember that the author has included her own measurements for information only. You will need to take your own measurements, so that your skirt will fit you.
Instructions
Take your waist measurement and write it down. The author's waist measurement is 27.5” (70 cm).
Measure the length from your waist, to the length you want your skirt to be. Add approximately 1” (3 cm).
The author wanted hers to finish just above her knees. Her measurement was 18.5” (47 cm), but to allow for a hem, she has added approx 1” (3 cm) and will use 19.5 inches (50 cm) for the total length of her skirt.
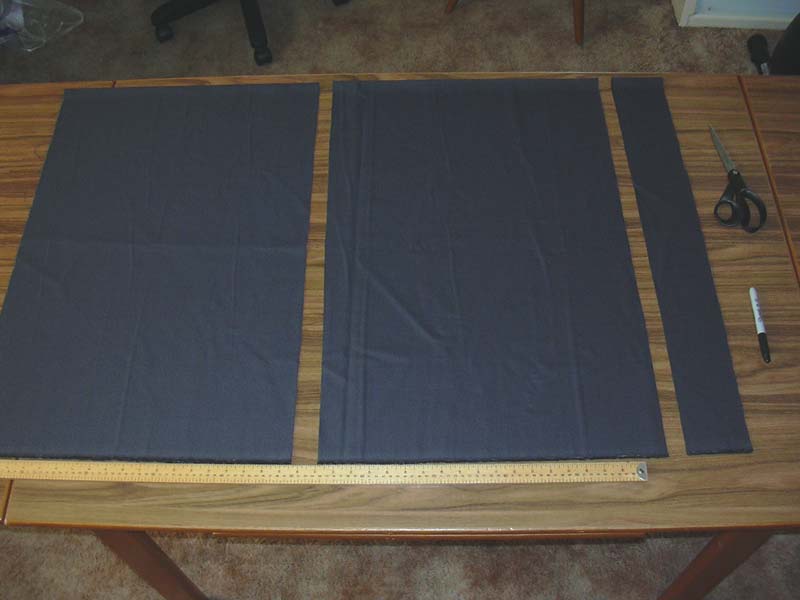
Fold your fabric in half, selvages together, with the right side of the fabric on the inside. Measure and cut two pieces of fabric, using the measurement for the length that you want your skirt to be. Also cut a piece approximately 4” (10 cm) for the waistband. The width of the author's fabric was 59” (150 cm), so it was wide enough for her to cut the waistband, using the width. If your fabric is not as wide, or if your waistband needs to be longer, you will need to lay your pattern pieces out on your fabric and cut your waistband out in the other direction. So, now you will have 3 pieces of fabric. You will cut the front pieces from one of them, the back from the other, and the third is the waistband, all ready to go.
Take the first piece of fabric you have cut, with the fold on the left. The fold will be the centre back of your skirt. Take your waist measurement, and divide it in half. Then add a little for the side seam allowances. Divide this in half again. Take this measurement and mark it across the top edge.
The author's waist measurement is 27.5” (70 cm), so 27.5 (70) ÷ 2 = 13.8” (35) cm.
13.8” (35 cm) + 1” (2 cm) = 14.8” (37 cm)
14.8” (37 cm) ÷ 2 = 7.4” (18.5 cm)
The author has marked 7.5” (18.5 cm) on hers.
Next is to mark the width of the bottom of the skirt, to give the a-line shape. Since your fabric by now is folded in half, you will need to divide the total width you want your skirt in half, and then mark it on the bottom. Then draw a line between the top and the bottom.
The author's is 22” (54 cm), so she made the mark 11” (27 cm) from the edge.
Then draw a line, joining the two, making sure that you take your hips into account.
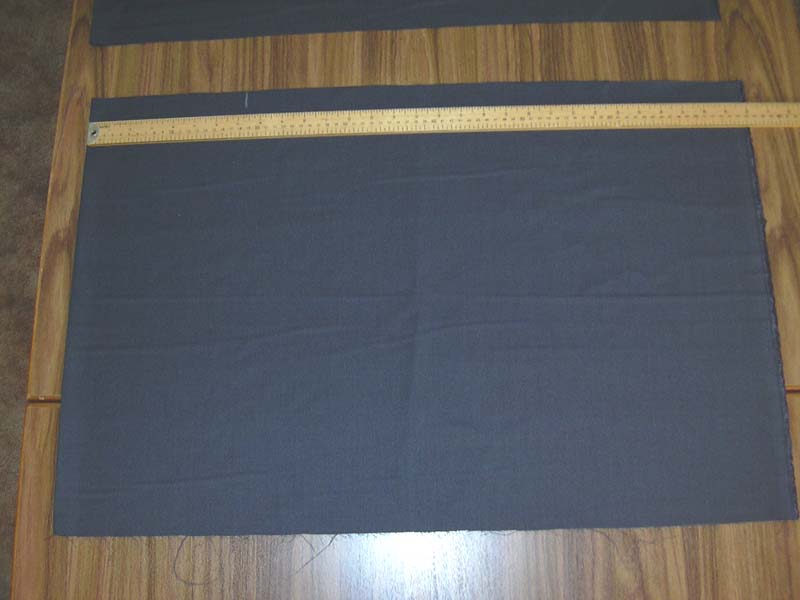
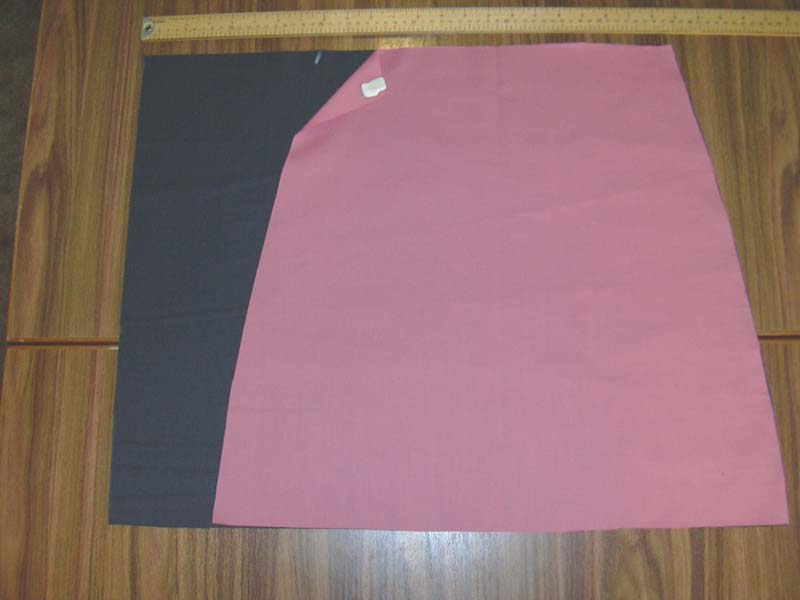
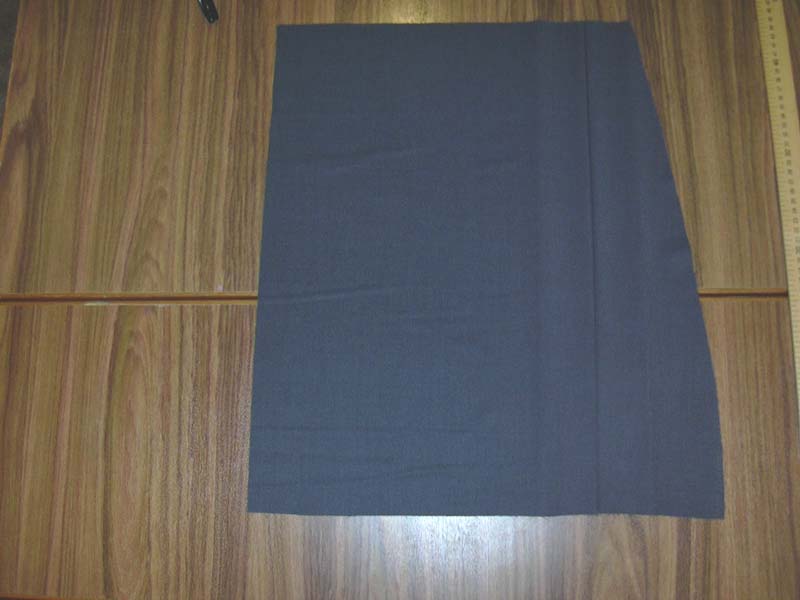
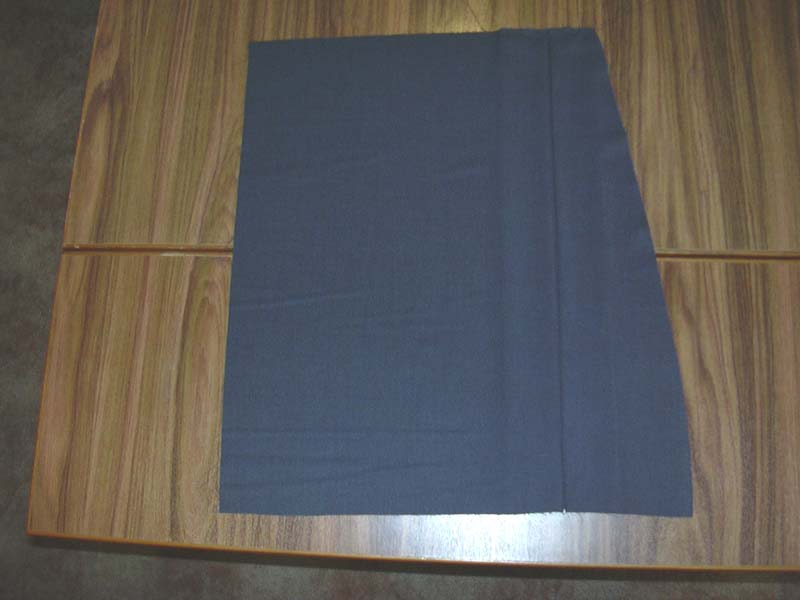
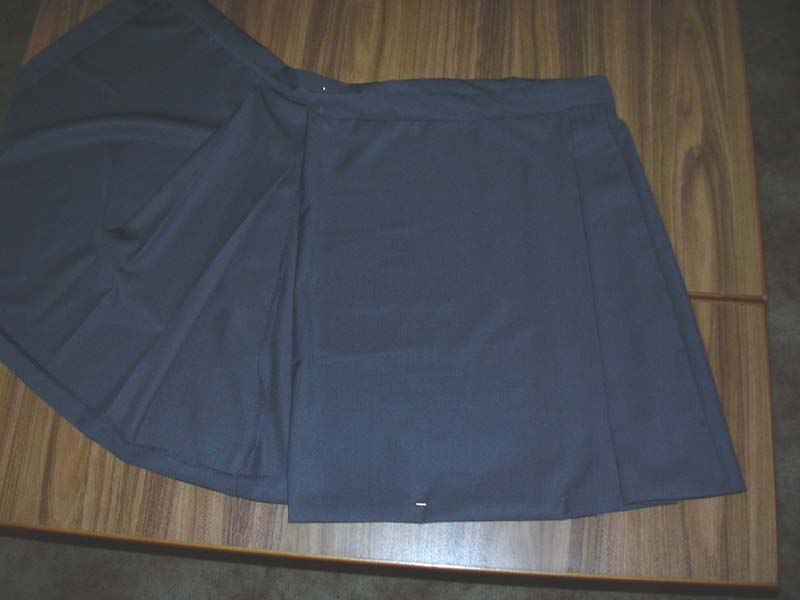
Then cut out the piece, and you have the back of your skirt. You will use this as a basis to cut the front pieces.
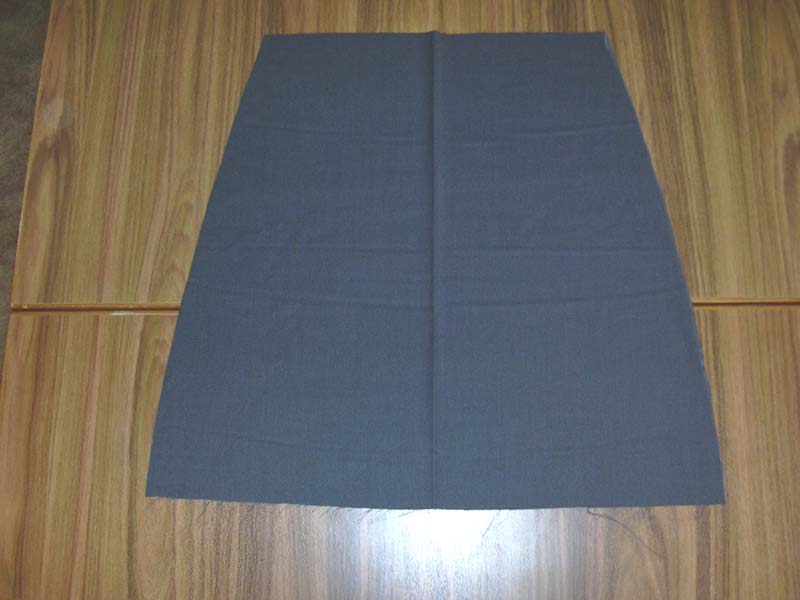
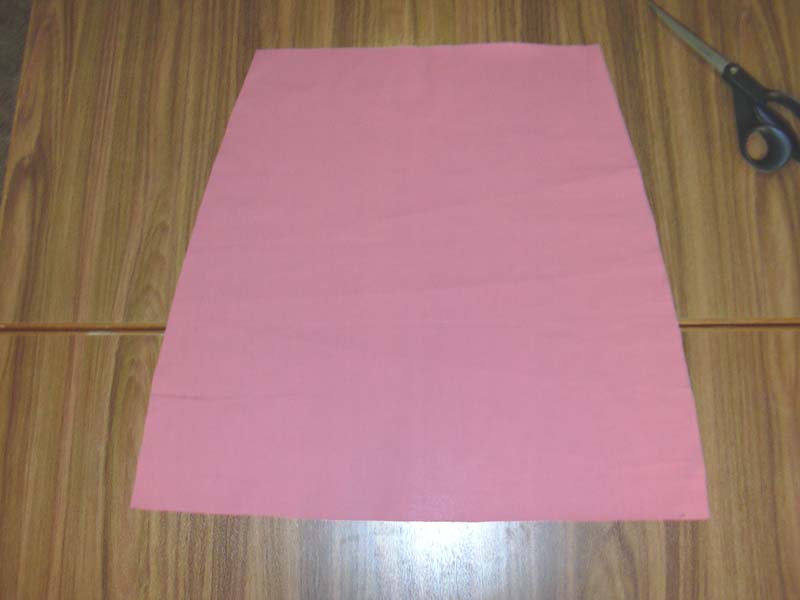
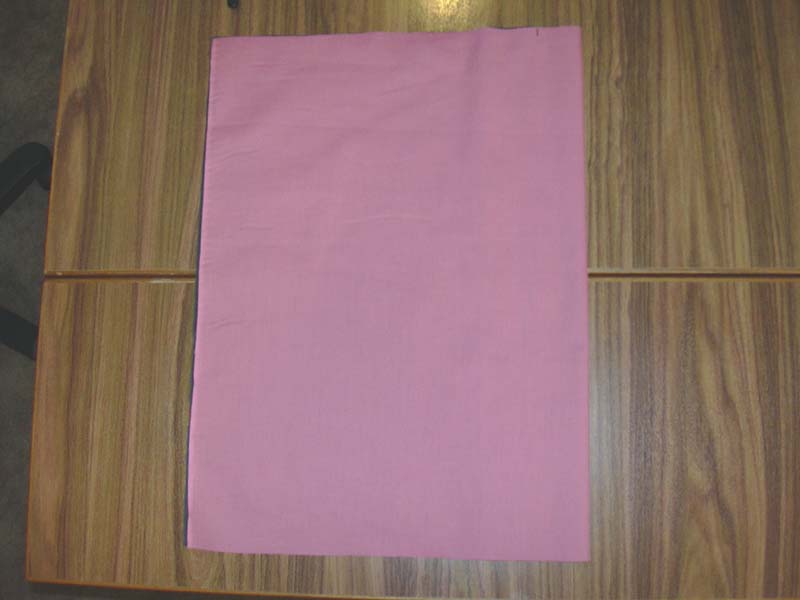
To make it easier to tell the difference between pieces (since they are the same colour), the author has cut out an identical piece to the back in pink fabric.
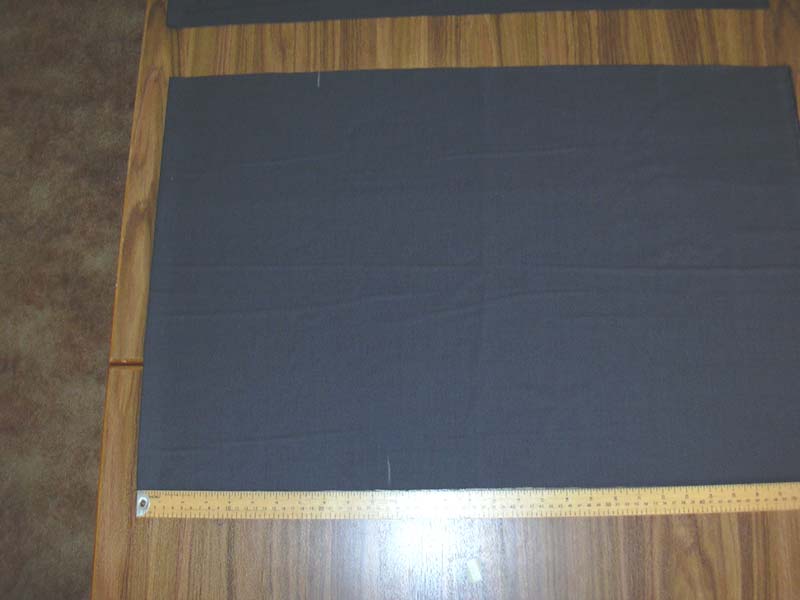
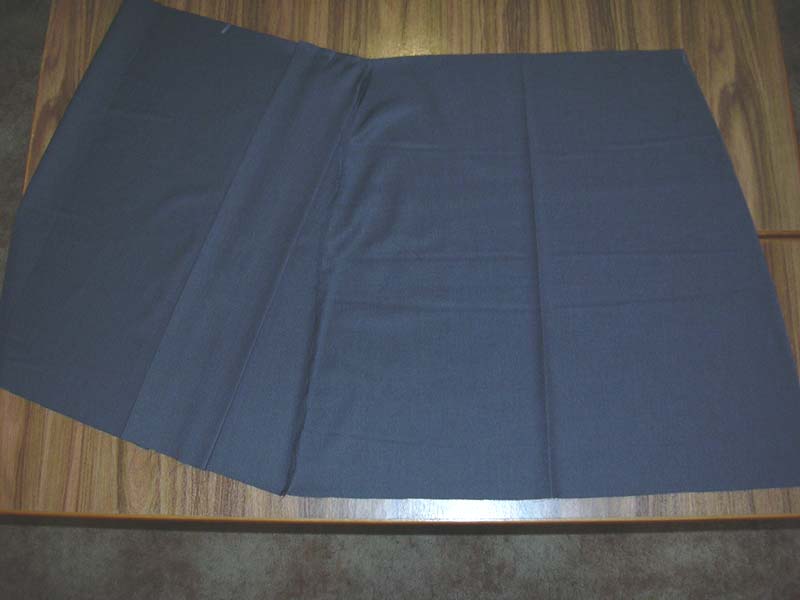
Lay out the pattern on the second piece of fabric. You will now be cutting out the front pieces.
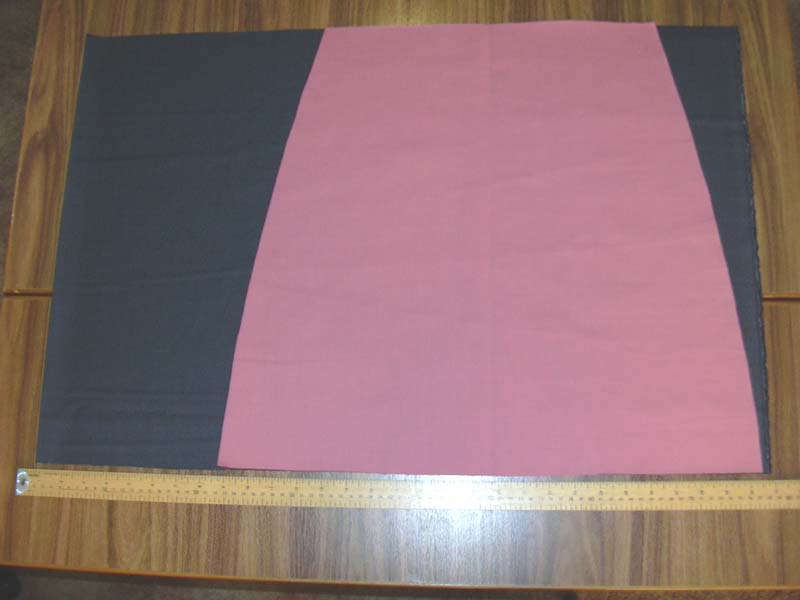
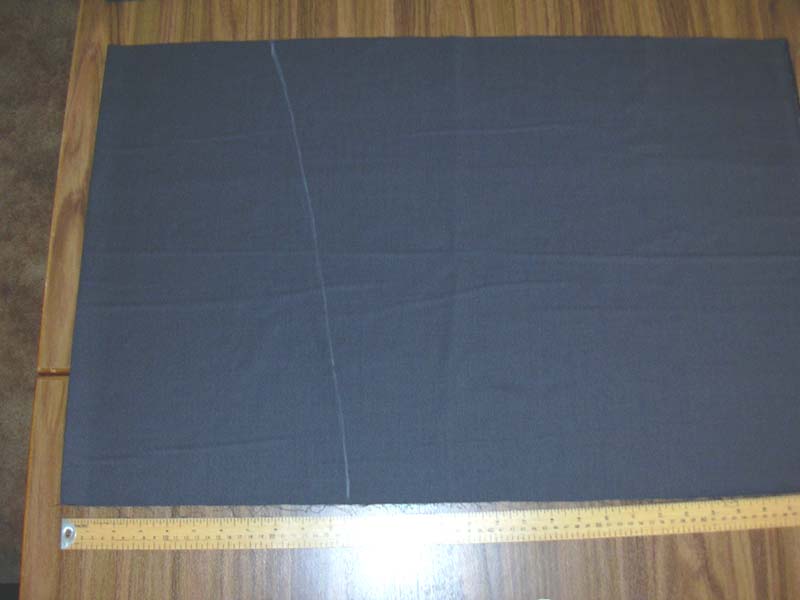
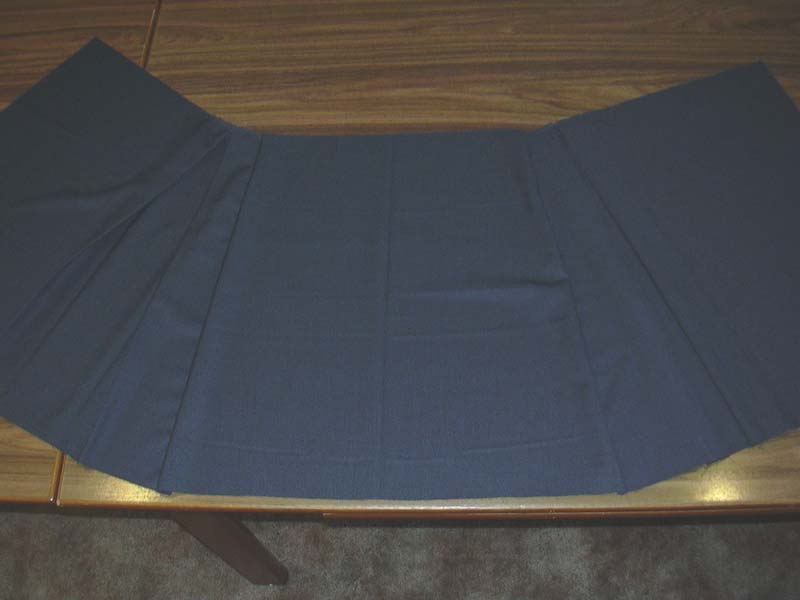
Extend one side by 8” (20 cm), and draw a line straight down. The straight edges will be the parts that overlap each other. As the fabric is now right sides together, you will end up with one for each side. This allows enough to pleat the fabric and fold over the edge.

You can now cut these pieces out.
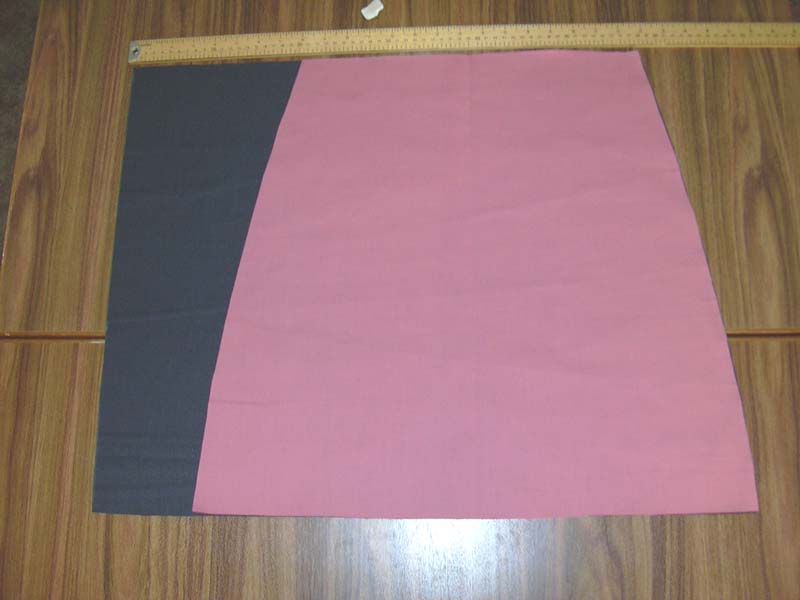
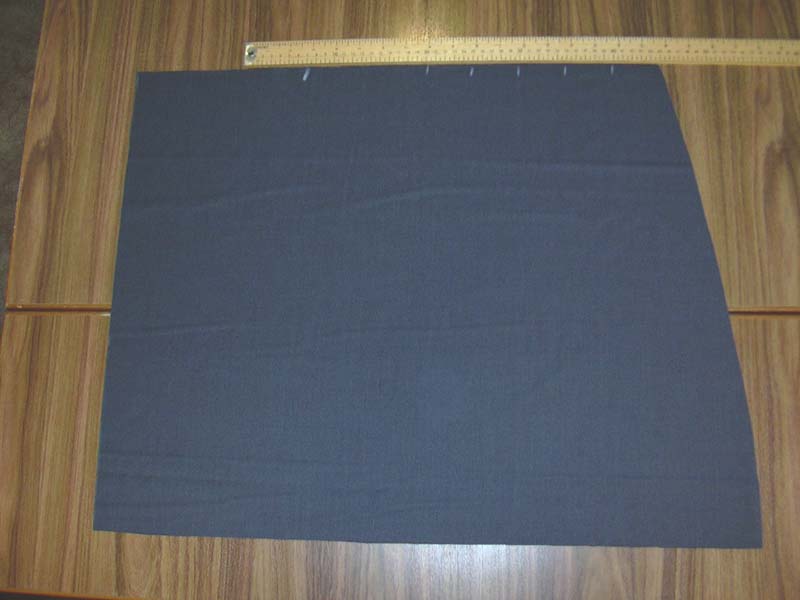
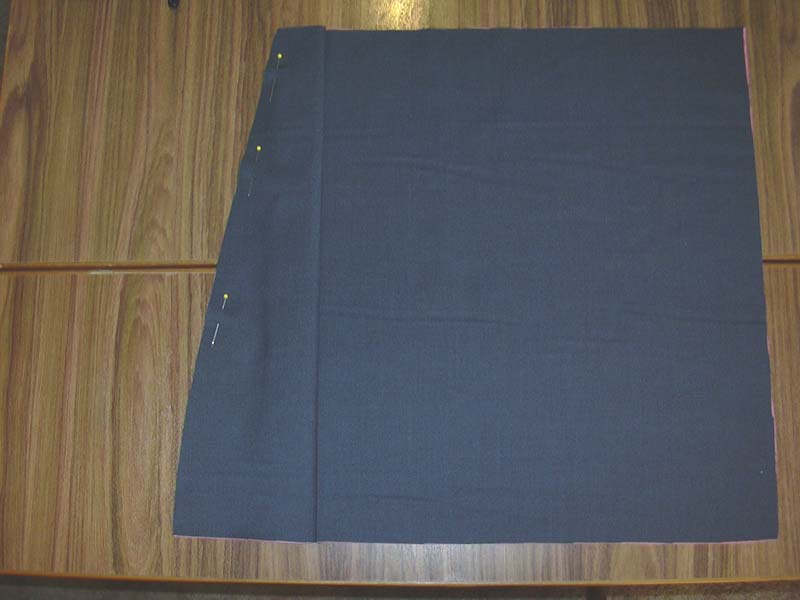
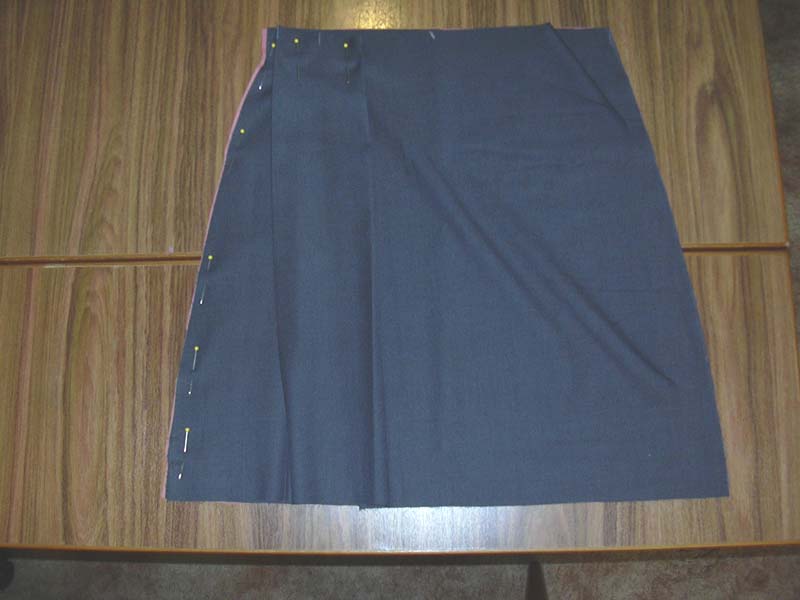
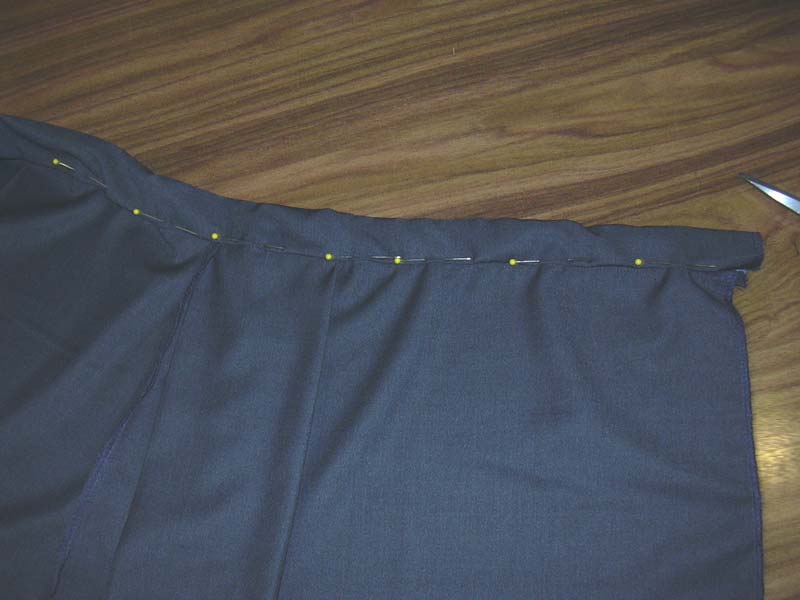
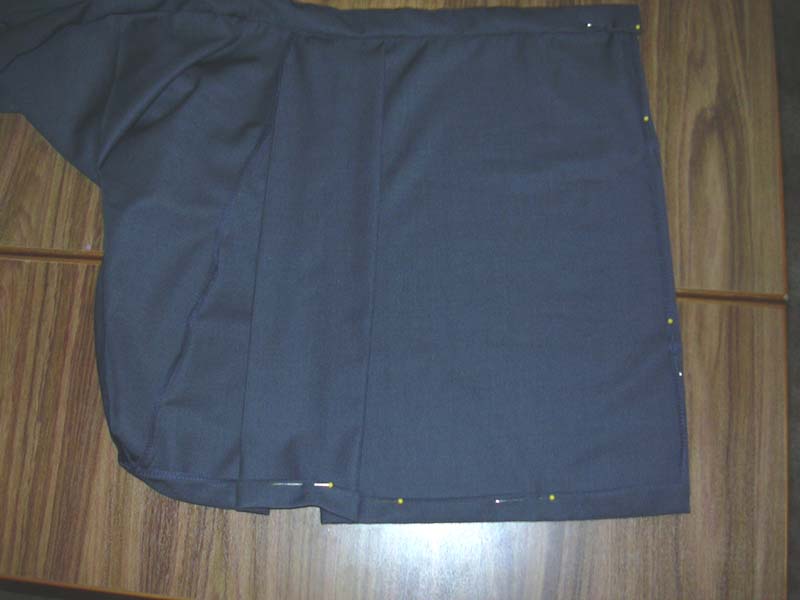
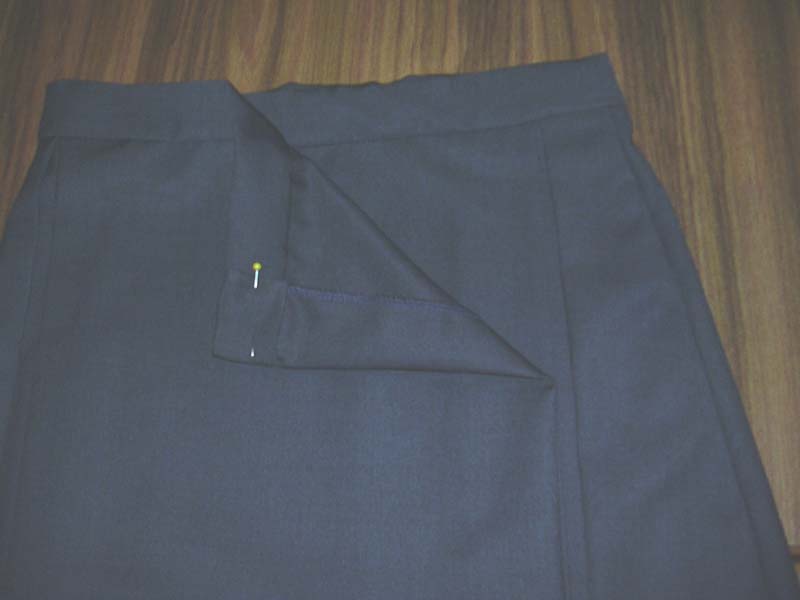
Before you take the pattern off, mark on the waist with chalk where the pattern ends. This will make it easier to mark where the fabric will be pleated.
You can now take the pattern off. Starting from the curved edge, mark 5, 2” (5 cm) lines.
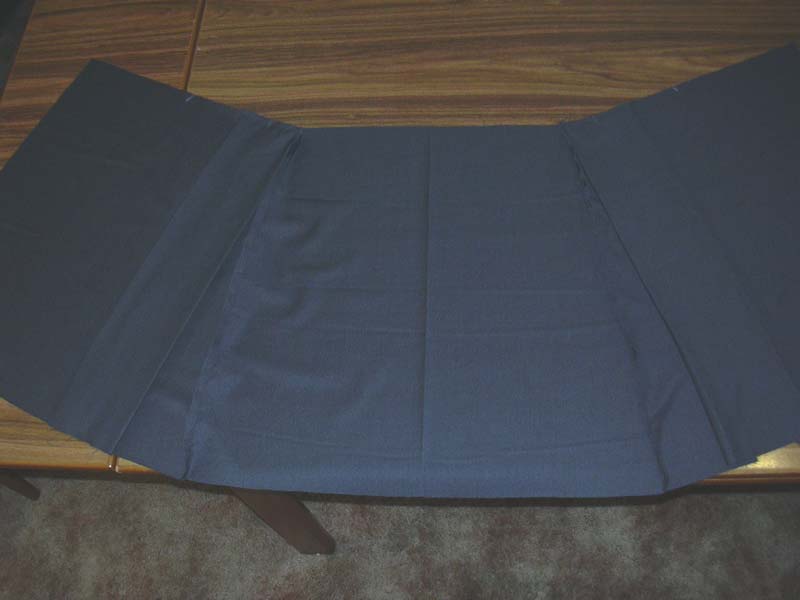
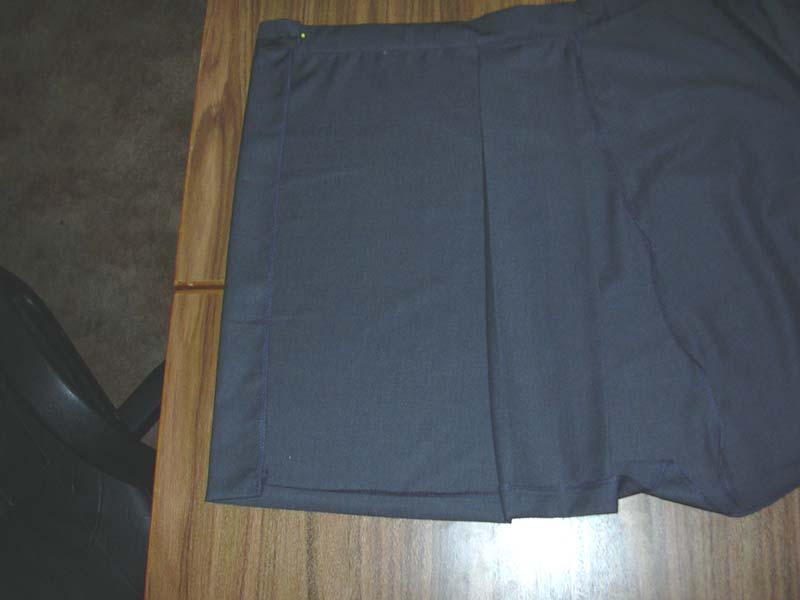
Turn fabric over, so that the right side is up.
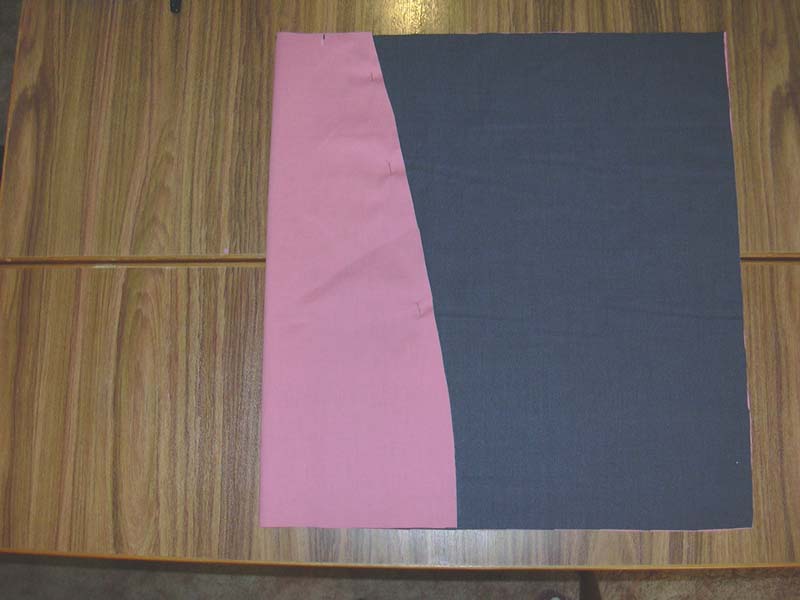
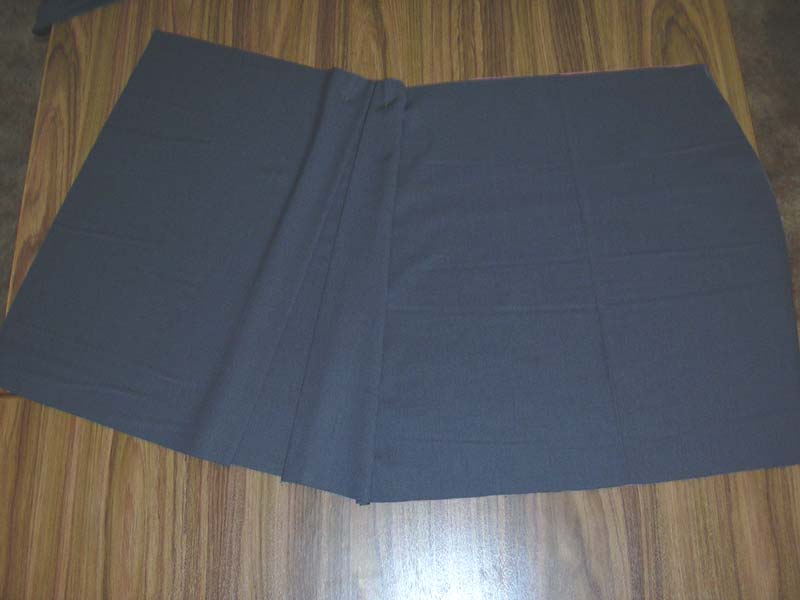
To make the next step easier to understand, the author has cut out another piece of fabric and will fold them both together. The grey is the right side of the fabric, and the pink is the wrong side. Hopefully that will help it to make sense. Fold inwards, following the images below.

Pin them in place and press with a hot iron.

Repeat with the other piece you have cut, but reversed. Remember to make the lines on the reverse side of your fabric, and note that your pleats will be on the other side. Once they are sewn to the side seams, they will overlap in the centre.

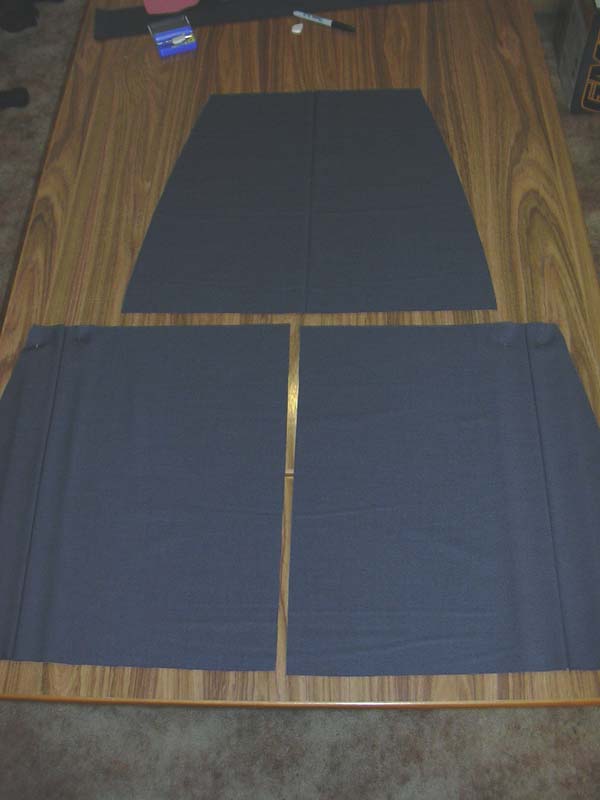
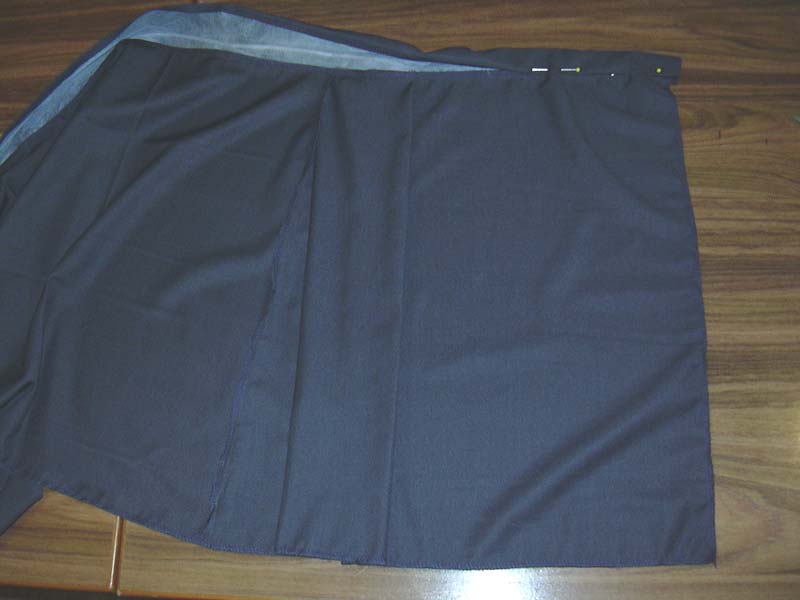
You now have your two front pieces, and one back piece.
Pin to the back side pieces, right sides together.
Zig zag or overlock all the edges and press.
Go to your third piece of fabric, which should be around 4” (10 cm) wide. The length should be the same as the top of your skirt. Cut out a piece of interfacing and attach to the wrong side of the waistband. The author went around the edge of hers with her overlocker.
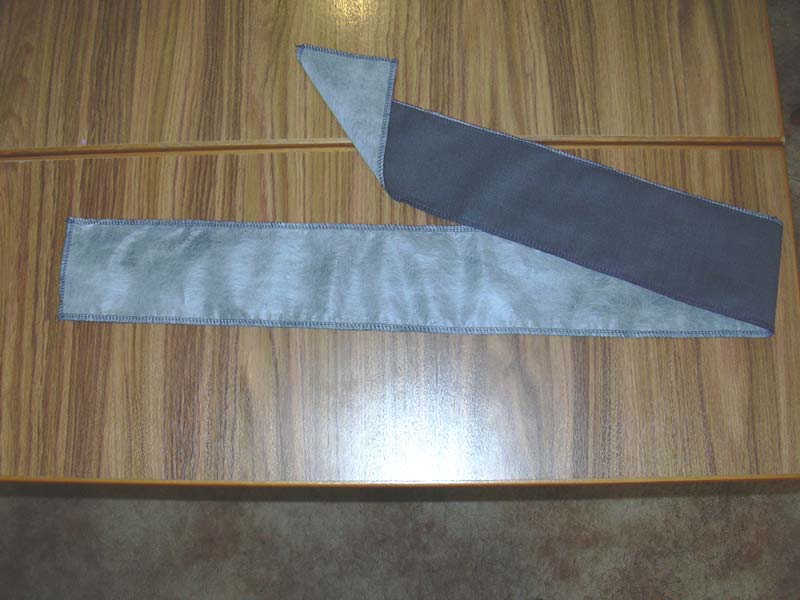
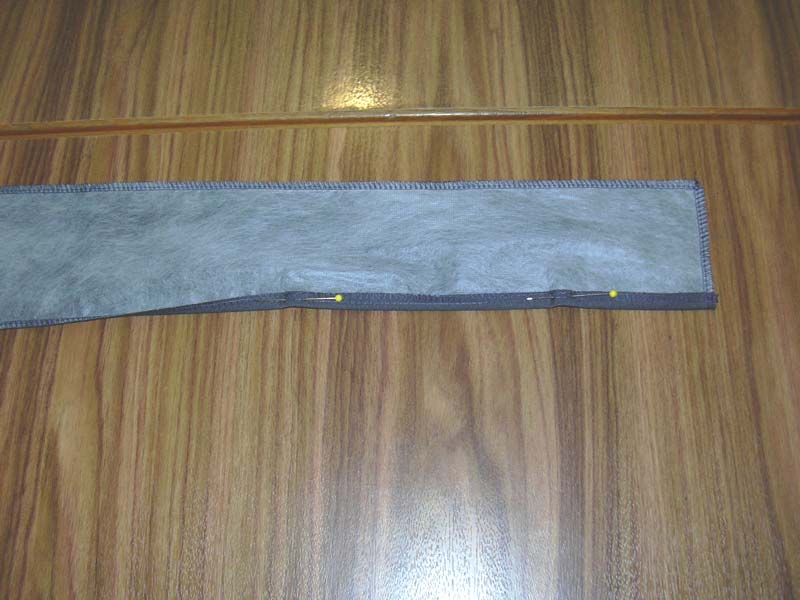
Press the edges under as per the image below. You will need to fold in the top and bottom, 0.4” (1 cm), then fold inwards again, so that you end up with a waistband that's just over 1.5” (4 cm) wide all around.
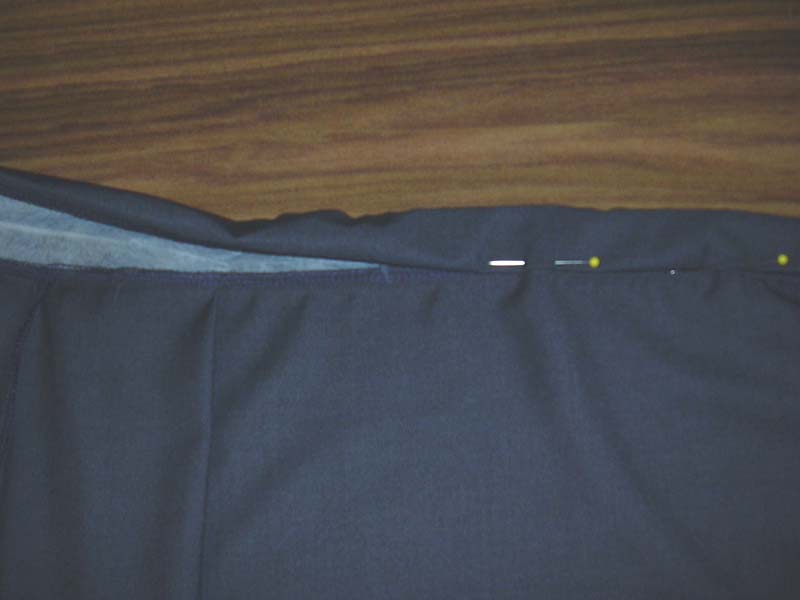
With the right sides together, pin the waistband to the top of the waistline.
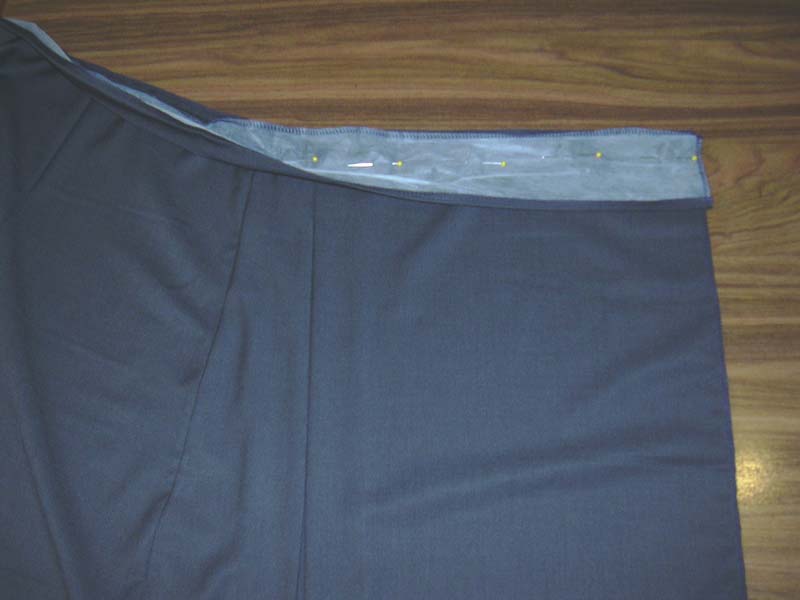
On the inside of the skirt, fold under the other side of the waistband and pin.
Sew the waistband to the skirt, then press.
Pin up the hem, then sew.
Sew a button and buttonhole and it's all done.
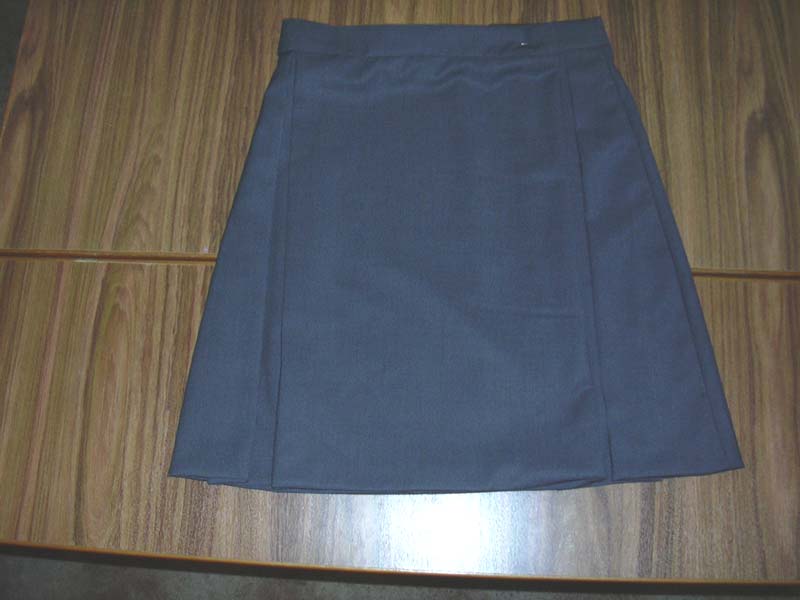
Final Product

Credit
© Starfire Phoenix's pattern was taken with permission from starfirephoenix.net