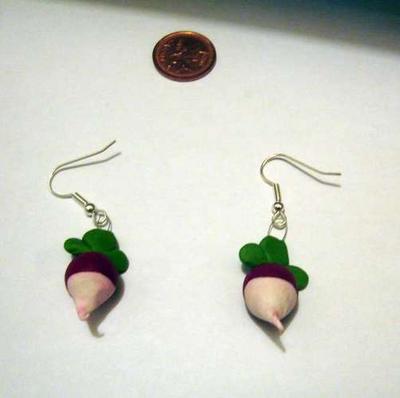
Final Product

Supplies
Sculpey or another polymer clay in green, purplish-red, and white
A pair of earring wires
Small amount of bendable wire
Instructions
Separate the clay into equal halves.
Proportionately, you should have more red clay than white, and more white than green.

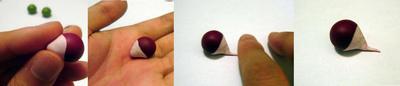
Place the white clay on top of the red ball and roll both pieces in your palm until you have one unified sphere.

Pinch the white part of the radish, making a cone, then roll the tip of the cone to create a short root.
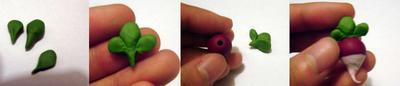
Split the green clay into three teardrop-shaped leaves, making the middle leaf to be larger and thicker, as this is where the wire will be inserted.
Attach all leaves together at the stem and pinch and roll them together.
Using a pen, make a hole in the top red part of your radish. Insert the leaves into this hole stem-first.
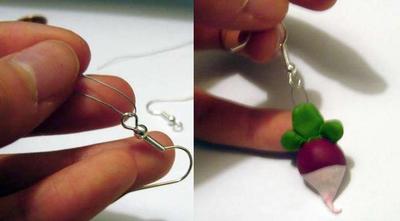
Fold the piece of wire in half and thread it through the earring.
Insert the other end of the wire into the middle large leaf of the radish, pushing down so that it enters the red part as well to help hold the pieces together once baked.
Make the other radish and bake both of them according to the manufacturer's instructions on the clay label.
Be careful not to let the clay burn, and make sure to let it cool down before taking the clay out of the oven as it will be very hot and fragile.
Once the earrings have cooled sufficiently, grab your butterbeer necklace and a copy of The Quibbler, and don your new earrings!
Credit
Grimsqueaker's tutorial was taken with permission from instructables.com.